Regularly formatting your dash cameras SD card will help prevent data corruption and keep your camera running smoothly. We recommend formatting the SD card once every 2-3 months, if your BlackVue dash cam is under heavy daily use then one a month would be best.
Please note: You will need to back up any files you wish to keep prior to formatting the SD card, as all footage will be deleted during this process.
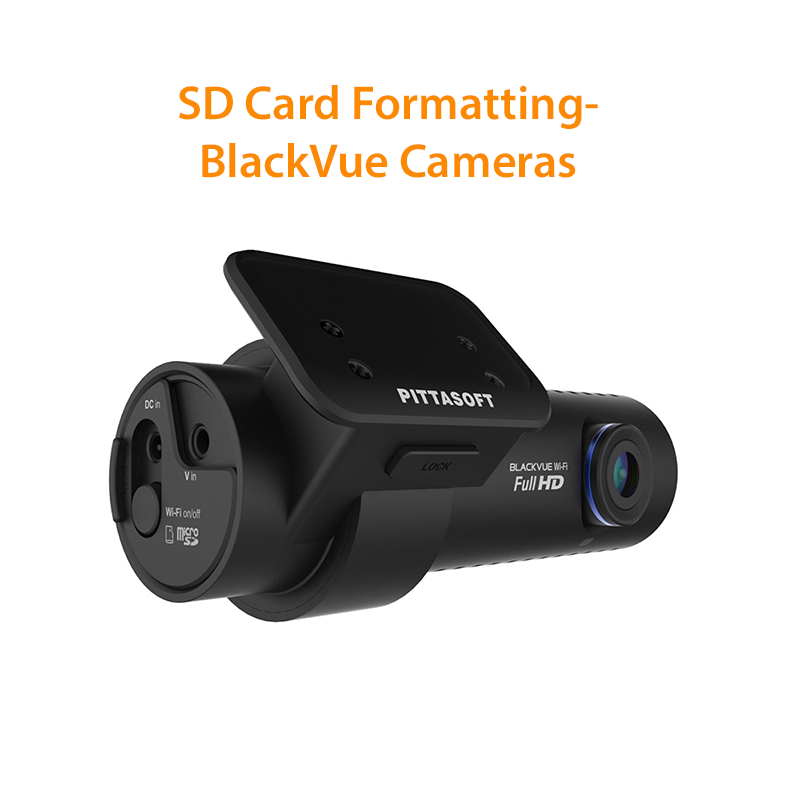
If you have one of BlackVue DR6XX series of dash cams the easiest way to format your cameras SD card is to hold down the Wi-Fi button on the right hand end of the camera for around 15 seconds, until you hear a loud beep. You will then be told that the SD card is being formatted, after this has been completed the camera will reboot itself.
There are some cameras in BlackVue range that will require formatting via a laptop, this is also useful if the camera has developed a fault and can no longer be formatted by holding down the Wi-Fi button.
Formatting the SD Card on a Windows computer

1) Turn the camera off by removing the power lead, allow at least ten seconds to ensure the camera has properly shutdown before removing the SD card.
2) Place the SD card in your PC/laptop and open the BlackVue Viewer software, if you do not already have this software you can download it here.
3) Click the SD card image at the top of the screen, select the drive in which the SD is in and click ‘OK’. Your SD card is now formatted.
After formatting the card, there may be new firmware available. This is available on BlackVue’s website, simply download the latest firmware for your camera and Copy the ‘BlackVue’ folder you have unzipped onto the SD card. If there is no new firmware then you can place the SD card back into the camera and it will apply the firmware.
Your SD card is now formatted and has the latest firmware for your camera on it meaning your camera will be back in action. If you have any questions regarding formatting your SD card please contact us and one of the team will be happy to help.


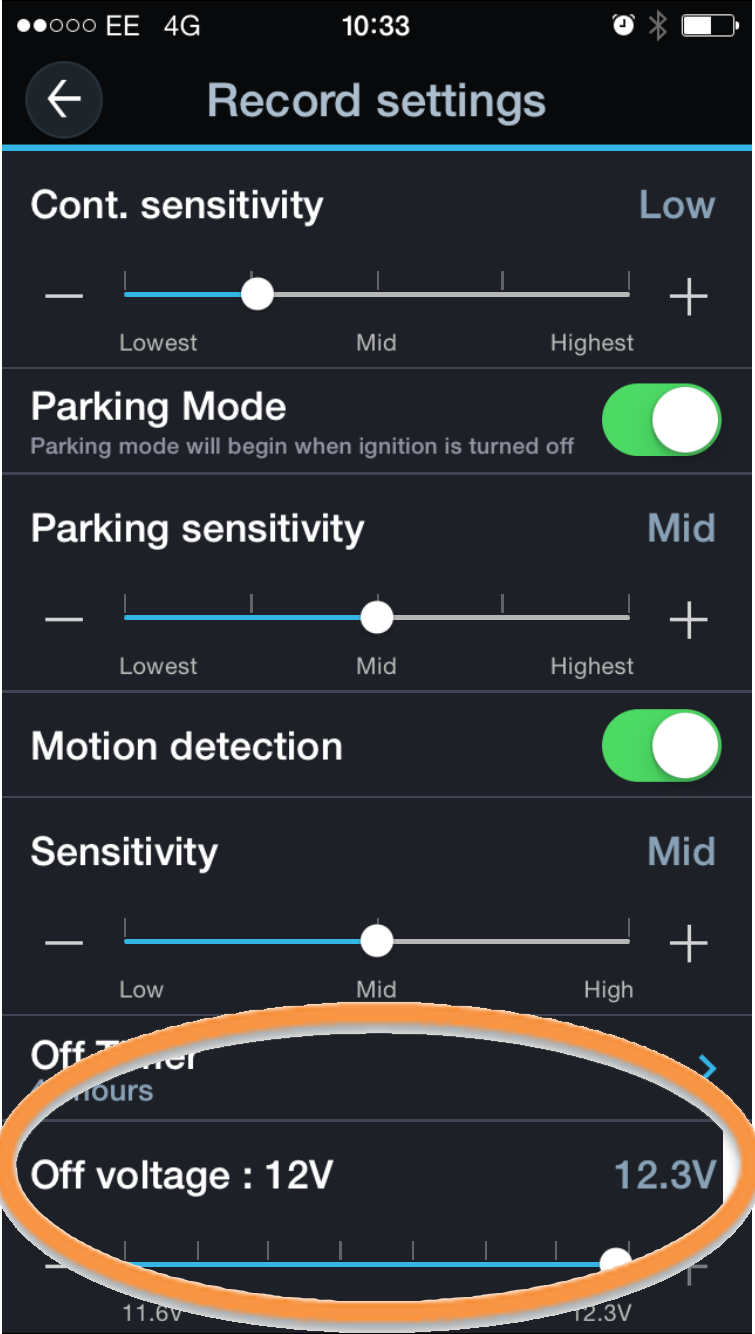 Step Four: Scroll down the menu until you find dash cam settings, when in this menu you will need to find ‘Record Settings’ and go into that menu. Your screen should now resemble something similar to the image accompanying this step. At the bottom of this page it says Off-Voltage, You are able to use the + and – buttons to change the level that you want your dash camera to automatically switch off at. When you are happy with the selection, press the back arrow in the top left of the app to save your settings.