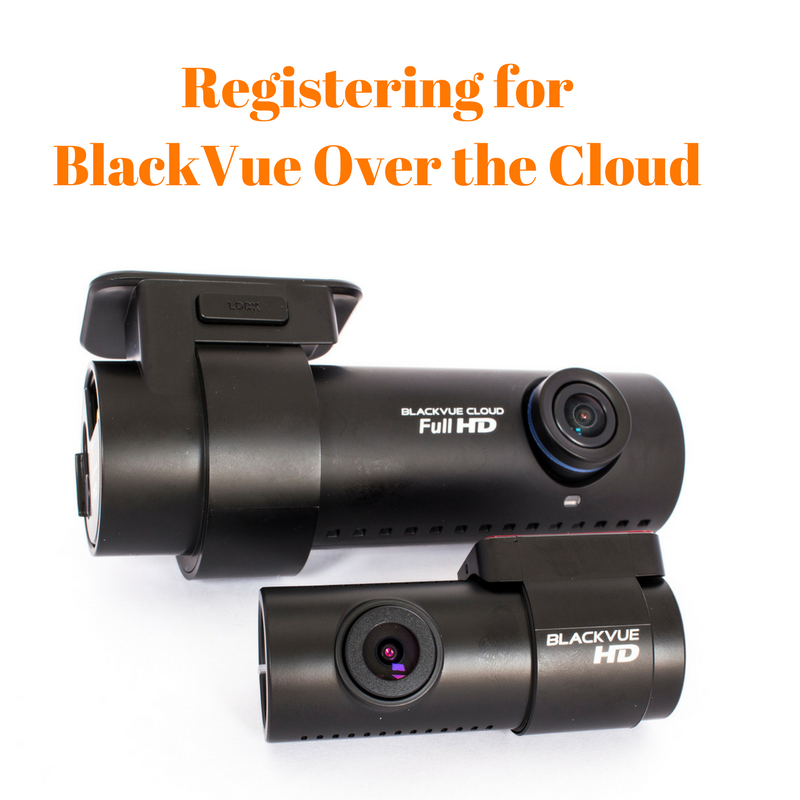
This guide was designed to show you how to connect your mobile device to BlackVue over The Cloud, just follow each step and you will be up and running in no time.

Step 1) Connect your mobile device to the internet and download the BlackVue app
Step 2) Open the BlackVue app and click the ‘Blackvue cloud’ menu option
Step 3) Create an account and confirm it via an email link
Step 4) Go back into the ‘Blackvue cloud’ menu and sign into your account
Step 5) Click register a new camera. You can either scan the QR code that comes in the box of the camera or manually enter the serial number and cloud code (found with the QR code). Once the code has been read or you have entered the details press register
Step 6) Disconnect your mobile from the internet and Connect your mobile device to the cameras Wi-Fi
Step 7) Open the BlackVue app and go into the ‘Blackvue Wi-Fi’ mode.
Step 8) Go to camera ▶ Firmware settings ▶ Cloud settings.
Step 9) Tick the enable cloud services box and then select the cloud service hotspot settings
Step 10) From the list of available Wi-Fi connections, click the one for your network and then enter that networks password. You are able to connect to up to 3 different Wi-Fi networks.
Step 11) Go back to the settings menu and then click quit after saving, if you do not select this option the changes made above will not be saved.
If you do need any further guidance on this please contact us and one of the team will be happy to run through it with you.
